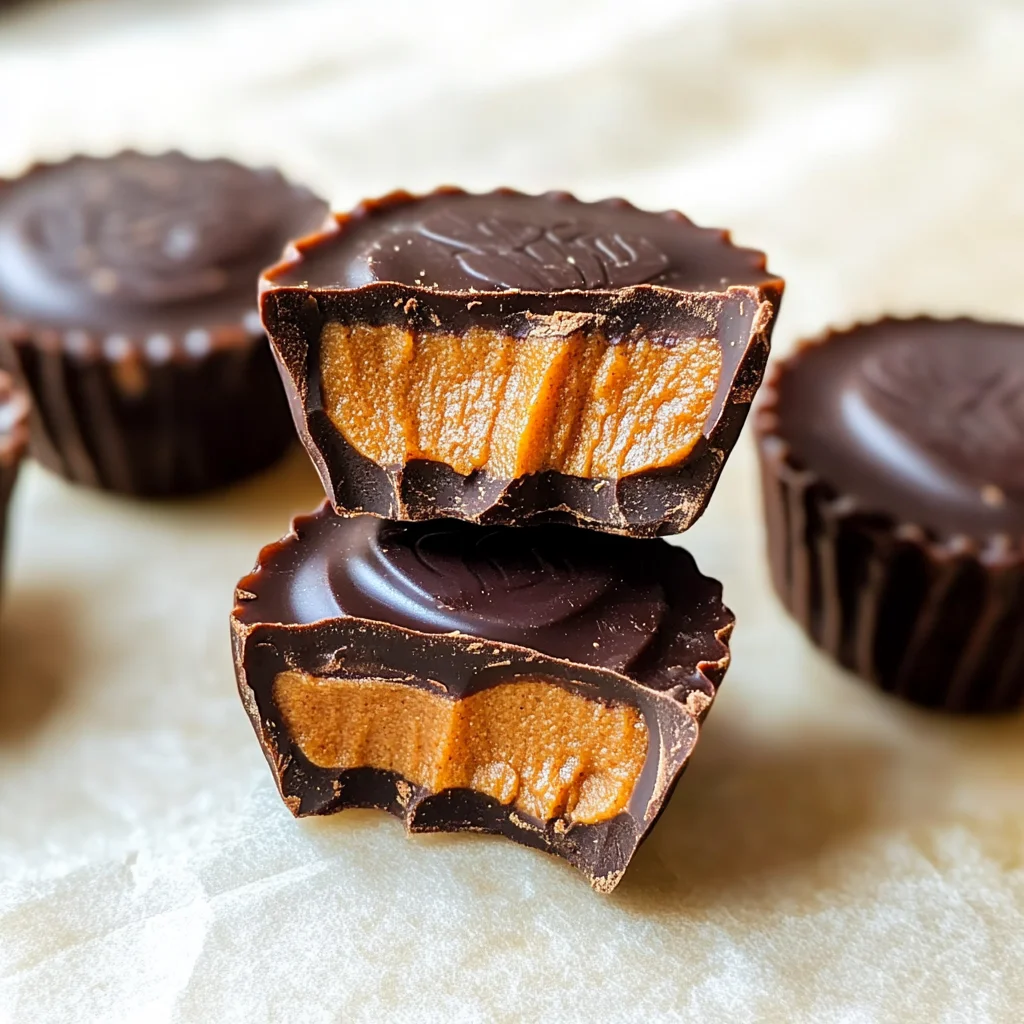
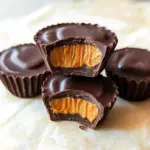
Chocolate Pumpkin Butter Cups
Chocolate Pumpkin Butter Cups are a fun and festive treat! The creamy pumpkin spice filling is sandwiched between rich dark chocolate to create the perfect bite every time. They’re not only a delightful dessert but also lower in sugar and dairy-free, making them suitable for many occasions. Whether you’re celebrating autumn, Halloween, or just want a sweet snack, these cups will be a hit!
Why You’ll Love This Recipe
- Easy to Make: With just a few ingredients and minimal prep time, you can whip up these delicious treats without any hassle.
- Flavorful Filling: The blend of pumpkin puree and spices creates a mouthwatering filling that will satisfy your sweet tooth.
- Versatile Options: Feel free to use any nut butter you prefer or even swap honey for maple syrup to customize the flavor.
- Healthier Alternative: These Chocolate Pumpkin Butter Cups are lower in sugar compared to traditional candies, allowing you to indulge guilt-free.
- Dairy-Free Delight: Perfect for those avoiding dairy, as they are made with plant-based ingredients.
Tools and Preparation
To create your Chocolate Pumpkin Butter Cups, gather the right tools. Having the right equipment makes the process smoother and ensures delicious results.
Essential Tools and Equipment
- Muffin tin
- Paper liners
- Mixing bowls
- Spatula
- Double boiler (or microwave-safe bowl)
Importance of Each Tool
- Muffin tin: Provides the perfect shape for your cups, ensuring they hold their form while setting.
- Paper liners: Prevent sticking and make it easy to remove the cups once they’re set.
- Mixing bowls: Essential for combining your ingredients thoroughly before pouring into molds.
- Spatula: Helps in mixing ingredients well and scraping down the sides of the bowl.
Ingredients
For the Filling
- 1/2 Cup Pumpkin Puree
- 1/3 Cup Almond Butter (Any nut butter will work! You can also use Sunbutter.)
- 2 Tablespoons Honey (You can also swap for maple syrup.)
- 2 Teaspoons Pumpkin Spice
For the Chocolate Coating
- 1 Cup Chocolate Chips
- 1 Tablespoon Coconut Oil
How to Make Chocolate Pumpkin Butter Cups
Step 1: Prepare Your Muffin Tin
Begin by lining a muffin tin with paper liners. This will make it easier to remove the chocolate cups once they have set.
Step 2: Make the Filling
In a mixing bowl, combine the following:
1. Pumpkin Puree
2. Almond Butter
3. Honey
4. Pumpkin Spice
Mix until smooth and well combined.
Step 3: Melt the Chocolate
In a double boiler or microwave-safe bowl:
1. Combine Chocolate Chips and Coconut Oil.
2. Melt gently while stirring until completely smooth.
Step 4: Assemble the Cups
- Pour a small amount of melted chocolate into each liner, enough to cover the bottom.
- Add a spoonful of pumpkin filling on top of each chocolate layer.
- Cover with more melted chocolate until fully sealed.
Step 5: Chill
Place your muffin tin in the refrigerator for at least 120 minutes or until completely set.
Now you’re ready to enjoy your delightful Chocolate Pumpkin Butter Cups!
How to Serve Chocolate Pumpkin Butter Cups
Chocolate Pumpkin Butter Cups are a delightful treat that can be enjoyed in various ways. Whether you’re hosting a party or need a quick snack, these cups are sure to impress.
For a Festive Gathering
- Decorate with Sprinkles: Add a sprinkle of festive colors on top for an eye-catching presentation.
- Serve with Whipped Coconut Cream: A dollop of whipped coconut cream enhances the creamy filling and adds richness.
As Part of a Dessert Platter
- Pair with Fresh Fruits: Serve alongside slices of apples or pears for a fresh contrast.
- Include Other Treats: Add cookies or brownies to create a diverse dessert platter that everyone will love.
For an Afternoon Snack
- Enjoy with Tea or Coffee: These cups make a great pairing with warm beverages, enhancing the flavors of both.
- Pack for Lunchboxes: Perfect for kids and adults alike, they’re an easy addition to lunch.
How to Perfect Chocolate Pumpkin Butter Cups
To make your Chocolate Pumpkin Butter Cups even better, consider these helpful tips. They will ensure your treats turn out just right every time.
- Use Quality Chocolate: Choose high-quality dark chocolate for rich flavor and smooth texture.
- Chill Between Layers: Chill the cups briefly between adding each layer of chocolate and pumpkin filling for better structure.
- Experiment with Nut Butters: Feel free to swap almond butter with other nut butters or sunflower seed butter for different flavors.
- Monitor Cooking Time: Keep an eye on the chilling time; too long can make them hard, while too short may not set properly.
Best Side Dishes for Chocolate Pumpkin Butter Cups
These Chocolate Pumpkin Butter Cups pair wonderfully with several side dishes that enhance their deliciousness. Here’s a list of perfect accompaniments.
- Fresh Fruit Salad – A mix of seasonal fruits adds freshness and balances the sweetness.
- Coconut Yogurt – A dollop of creamy coconut yogurt complements the chocolate nicely and adds a tart contrast.
- Granola Clusters – Crunchy granola clusters provide texture and a nutty flavor that pairs well with the softness of the cups.
- Nut Mix – A blend of nuts offers protein and healthy fats while providing crunch against the silky filling.
- Popcorn Seasoned with Cinnamon – Sweet cinnamon popcorn makes for a fun, light addition that echoes pumpkin spice flavors.
- Chia Seed Pudding – This healthy option is rich in fiber and can be flavored with vanilla or more pumpkin spice for synergy.
Common Mistakes to Avoid
Making Chocolate Pumpkin Butter Cups is easy, but some common mistakes can ruin your treat.
- Using the wrong nut butter: Choosing a nut butter with added sugars or oils can affect the flavor and texture. Opt for natural almond butter or sunflower seed butter for the best results.
- Not measuring ingredients properly: Incorrect measurements can lead to a filling that is too runny or too thick. Be sure to use measuring cups for accuracy.
- Skipping the chilling time: Failing to chill the cups long enough may result in a soft consistency that won’t hold its shape. Allow them to set in the fridge for at least 2 hours.
- Overheating chocolate: Melting chocolate at high temperatures can cause it to seize. Use low heat or a double boiler for gentle melting.
- Ignoring storage guidelines: Not storing them correctly may lead to spoilage. Always keep your Chocolate Pumpkin Butter Cups in airtight containers.
Storage & Reheating Instructions
Refrigerator Storage
- Store in an airtight container.
- Keep in the refrigerator for up to one week.
Freezing Chocolate Pumpkin Butter Cups
- Place in a freezer-safe container or bag.
- Freeze for up to three months.
Reheating Chocolate Pumpkin Butter Cups
- Oven: Preheat to 350°F (175°C) and warm for about 5-10 minutes. This helps retain the texture.
- Microwave: Heat on low power in 10-second intervals until just warm. Avoid overheating.
- Stovetop: Place in a pan over low heat, stirring gently until warmed through.
Frequently Asked Questions
Many people have questions about making Chocolate Pumpkin Butter Cups. Here are some common inquiries.
How do I make Chocolate Pumpkin Butter Cups dairy-free?
You can ensure they are dairy-free by using dairy-free chocolate chips and coconut oil instead of butter.
Can I use other sweeteners instead of honey?
Yes, you can substitute honey with maple syrup or agave nectar based on your preference.
What if I don’t have pumpkin spice?
You can easily make your own pumpkin spice by mixing cinnamon, nutmeg, ginger, and allspice together.
How long do Chocolate Pumpkin Butter Cups last?
When stored properly, they last about a week in the refrigerator or up to three months in the freezer.
Can I customize the filling?
Absolutely! Feel free to add nuts, seeds, or even dried fruit to enhance your Chocolate Pumpkin Butter Cups.
Final Thoughts
Chocolate Pumpkin Butter Cups are not only delicious but also versatile and easy to customize. You can experiment with different nut butters or spices based on your taste preferences. Give this recipe a try for a delightful treat that’s perfect for any occasion!
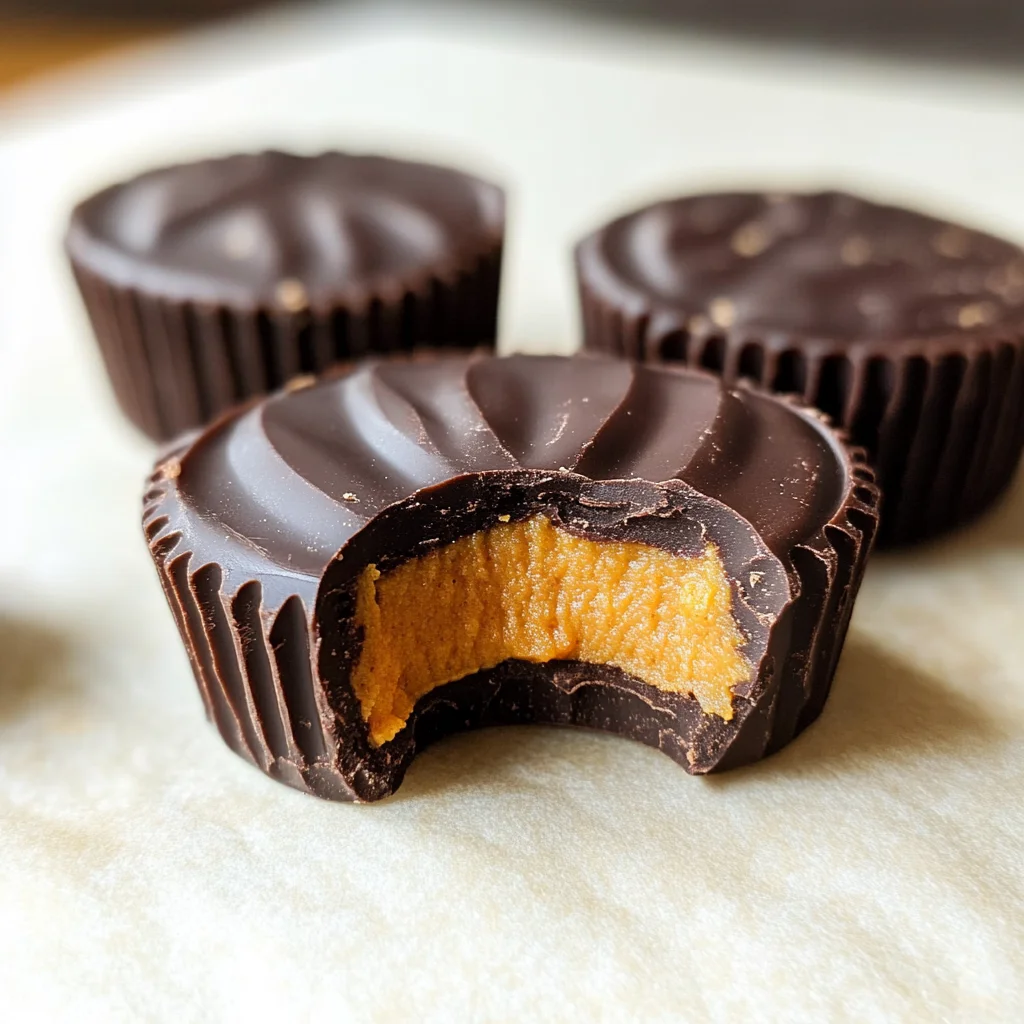
Chocolate Pumpkin Butter Cups
Chocolate Pumpkin Butter Cups are a delightful and festive treat that perfectly blends rich dark chocolate with a creamy pumpkin spice filling. These delectable cups are not only easy to make but also lower in sugar and completely dairy-free, making them an ideal indulgence for various occasions. Whether you’re celebrating the fall season, hosting a Halloween gathering, or simply craving a sweet snack, these chocolate cups are sure to impress. With their combination of flavors and textures, they offer a guilt-free way to satisfy your sweet tooth.
- Prep Time: 15 minutes
- Cook Time: 10 minutes
- Total Time: 25 minutes
- Yield: Approximately 10 servings 1x
- Category: Dessert
- Method: No-bake
- Cuisine: American
Ingredients
- 1/2 Cup Pumpkin Puree
- 1/3 Cup Almond Butter (or any nut butter)
- 2 Tablespoons Honey (or maple syrup)
- 2 Teaspoons Pumpkin Spice
- 1 Cup Chocolate Chips
- 1 Tablespoon Coconut Oil
Instructions
- Line a muffin tin with paper liners.
- In a mixing bowl, combine pumpkin puree, almond butter, honey, and pumpkin spice. Mix until smooth.
- Melt chocolate chips and coconut oil together in a double boiler or microwave until smooth.
- Pour a small amount of melted chocolate into each liner, then add a spoonful of pumpkin filling. Cover with more melted chocolate.
- Chill in the refrigerator for at least 120 minutes until set.
Nutrition
- Serving Size: 1 serving
- Calories: 150
- Sugar: 8g
- Sodium: 30mg
- Fat: 10g
- Saturated Fat: 3g
- Unsaturated Fat: 7g
- Trans Fat: 0g
- Carbohydrates: 14g
- Fiber: 2g
- Protein: 4g
- Cholesterol: 0mg